Why Professional Cabinet-Wrap Installation Matters
TL;DR: A cabinet wrap is only as good as the hands that apply it. Here is what careful preparation, grain alignment, and edge work actually involve.
A cabinet wrap can look great or fall apart within a year, and the difference usually comes down to one thing: how it was installed. The film matters, but the hands applying it matter more. This guide walks through the steps that separate a wrap that lasts from one that lifts at the corners, so you know what careful work actually looks like.
Wrapping applies architectural film, such as Bodaq, over your existing cabinet doors, drawer fronts, and exposed sides. It sounds simple, and the finished result looks clean and effortless. But that clean result hides a lot of preparation and technique. Here is what goes into it.
Preparation Sets the Ceiling for Quality
Everything starts with prep. No film sticks well to a dirty, glossy, or uneven surface. A good installer spends real time here before any wrap goes down: removing doors and hardware, labeling parts so they go back exactly where they belong, and cleaning and lightly scuffing surfaces so the adhesive has something to grip.
Skipping or rushing prep is the single most common reason a wrap fails early. When you see film peeling at an edge months later, it usually traces back to a surface that was not properly cleaned or scuffed. Prep is not the glamorous part of the job, but it sets the ceiling for how good and how durable the final result can be.
Grease Removal in a Real Kitchen
Kitchens are greasy, even the ones that look clean. Cooking oils drift and settle on cabinet fronts, especially near the stove and above the range. That thin, invisible film of grease is the enemy of adhesion.
Proper grease removal means degreasing surfaces thoroughly, not just wiping them down with a damp rag. The areas around the cooktop get extra attention because that is where the most buildup lives. A door that feels clean to the touch can still carry enough residue to keep film from bonding, so this step is done carefully every time.
Grain Direction and Pattern Alignment
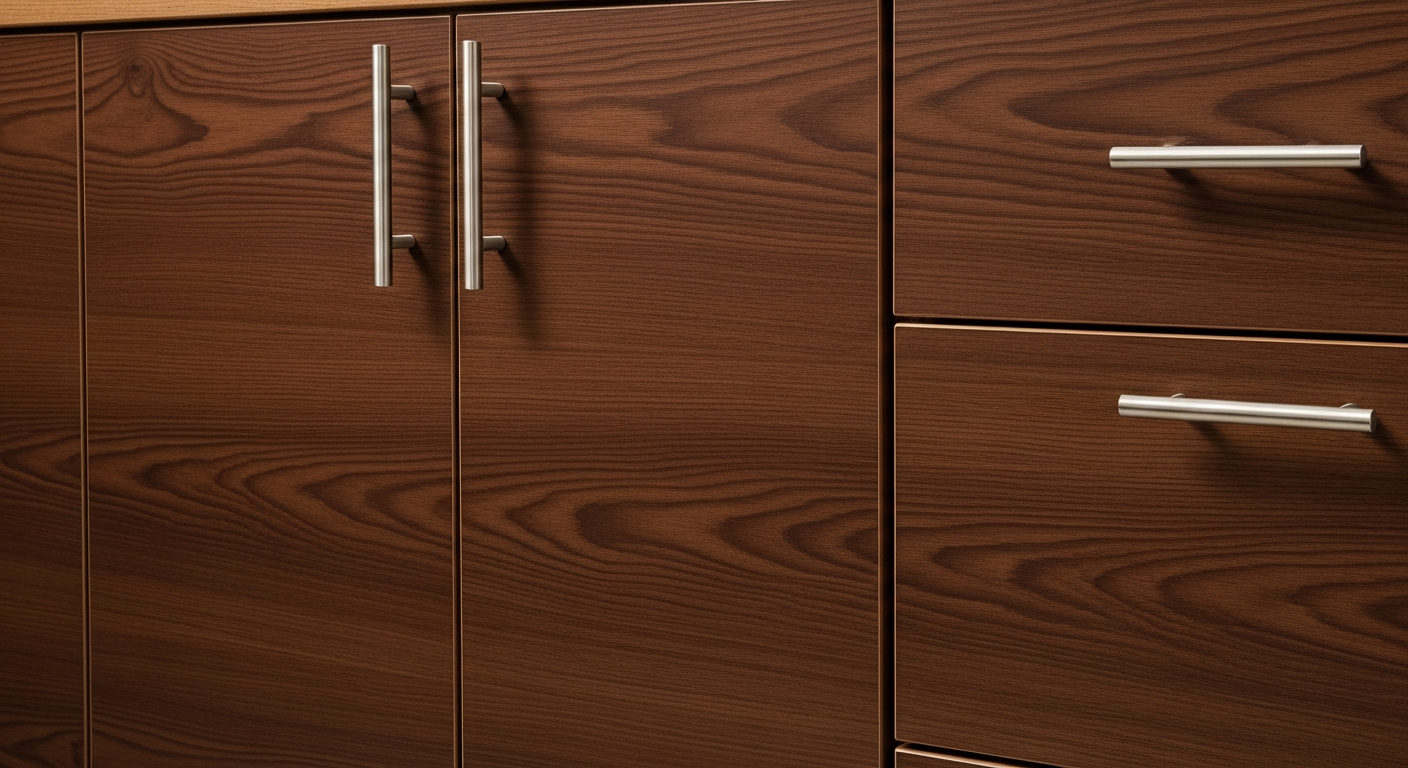
If you choose a wood-look or textured finish, grain direction is a detail that either reads as natural or gives the wrap away. Real wood cabinetry has grain running a certain way: vertical on tall doors, horizontal on wide drawer fronts. A careful installer follows that logic so the finished kitchen looks like genuine wood, not a printed sheet applied in whatever direction was convenient.
The same care applies to stone-look and patterned films. Matching the flow of a pattern across adjacent doors keeps the eye from catching an obvious break. This is invisible work when it is done right and glaringly obvious when it is not.
Corner Finishing
Corners are where wraps are won or lost. Film has to wrap around edges and into corners without bunching, tearing, or leaving a gap. On a flat surface, almost anyone can lay film down cleanly. It is the corners, returns, and profiled edges that separate skilled installation from amateur work.
Controlled heat, patient stretching, and clean relief cuts let the film conform tightly around a corner and hold there. Done well, corners look crisp and stay put. Done poorly, they are the first place a wrap starts to lift.
Edge Adhesion and Wrapped Returns
Edges take the most abuse in a kitchen. They get grabbed, bumped, and cleaned constantly. If the film is not fully adhered and wrapped around the edge of a door, that edge becomes the weak point where lifting and peeling begin.
A quality installation wraps the film around and secures it on the back side of the edge where possible, so there is no exposed lip to catch a fingernail or a dish towel. Firm, even pressure along every edge is what makes the difference between a wrap that shrugs off daily use and one that starts to fail within months.
Reading Door Profiles
Not every door wraps the same way. Flat-panel and slab doors are the most straightforward, because the film lays across a simple surface and wraps clean edges. Raised-panel and heavily profiled doors are a different challenge, since the film has to conform to grooves, bevels, and changes in depth.
This is why we insist on an in-person evaluation for raised-panel doors before committing. Some profiles wrap beautifully; others have tight recesses where film is hard to seat cleanly and may be prone to lifting. An honest installer looks at your actual doors and tells you what to expect rather than promising a perfect result sight unseen.
Countertops Ask for Even More Care
Wrapping a countertop is a step up in difficulty. Counters are large, continuous surfaces with sink cutouts, edges, and sometimes a backsplash to work around. Any bubble, seam, or misaligned pattern shows more on a big horizontal surface than it does on a cabinet door.
A professional plans seam placement, aligns the pattern, and works the film tight around edges and cutouts. Our countertop wrapping service is priced by project because every counter is a different size and shape. Whatever the layout, careful edge work matters even more on a counter, since edges here meet water and heat every day.
Countertop wraps have real limits
Even a perfect installation cannot make a wrapped counter behave like solid stone. Wrapped counters need trivets under hot cookware, cutting boards instead of knives directly on the surface, and no standing water left to sit at seams. We explain this up front so the finish holds up.
The Right Use of Heat
Heat is a tool in wrapping, but it is a tool that demands judgment. Controlled heat makes film flexible so it can stretch around corners and conform to shapes. Too much heat, or heat applied carelessly, can stretch the film past where it should go, distort a pattern, or weaken the finish.
Knowing exactly how much heat to use and where is a skill that comes from experience. It is one of the clearest lines between a trained installer and someone following an online video.
Repairs and Cabinets That Need Work First
A wrap covers a surface; it does not fix what is underneath. Wrapping is not suitable for cabinets that are structurally failing, water-damaged, swollen, or delaminating. A responsible installer inspects your cabinets and flags any of these problems before quoting a wrap.
Minor issues can sometimes be addressed first: a loose hinge tightened, a small chip filled and smoothed so it does not telegraph through the film. But a cabinet box that is soft from a leak needs repair or replacement, not a cosmetic cover. We would rather tell you that during the estimate than wrap over a problem and watch it come back.
Final Inspection and Reassembly
The last step is easy to overlook but important. Once the film is applied, a careful installer inspects every door and edge for bubbles, lifting, or misalignment, presses down any spot that needs it, and only then rehangs the doors and reattaches hardware. Doors get realigned so they sit evenly and close properly.
This final walk-through is where small imperfections get caught and corrected before you ever see them. It is the quiet difference between a job that is technically finished and one that is actually done well.
Why This Is Not a Weekend DIY Project
You can buy film and try this yourself, and some people do. But the steps above, thorough prep, grease removal, grain alignment, corner and edge technique, heat control, and honest cabinet assessment, are exactly where DIY wraps tend to go wrong. A wrap that bubbles or peels within a few months costs more in redo work than doing it right the first time.
On cost, professional cabinet wrapping starts from $1,999 for a studio or small kitchen and runs up to about $3,500 for a large kitchen, driven mainly by your door count and cabinet condition. Compared with full replacement, some customers may save approximately 60 to 80 percent, depending on project scope. Most kitchens are quick, too: many standard kitchens can be completed in approximately one day, and most projects take one to three days.
Frequently Asked Questions
How long should a professionally installed wrap last?
When quality film is applied to sound, well-prepped cabinets, a wrap holds up well to everyday kitchen use for years. Proper prep and edge work are the biggest factors in how long it lasts.
What is the most common installation mistake?
Poor preparation, especially skipping thorough cleaning and degreasing. Even good film will not bond to a greasy or glossy surface, which is why edges and corners lift first on rushed jobs.
Do you inspect cabinets before agreeing to wrap them?
Yes. We check for structural and moisture issues and evaluate door profiles in person when needed. If wrapping is not a good fit, we will tell you rather than take on a job that will not last.
Want to know whether your cabinets are good candidates for a lasting wrap? Request a professional cabinet assessment, or call (646) 736-2976. Learn more about our cabinet wrapping service and browse our project gallery to see the finished work.
Reviewed by the Cabinet Restore Pro team.
Get a Free Quote for Your Kitchen
Tell us what you want wrapped and we'll send you an estimate — no site visit needed.
Ready to Refresh Your Kitchen?
Get a free consultation and see how cabinet refinishing can transform your space — at a fraction of the cost of new cabinets. We offer remote consultations and ship free samples.