What Happens During Kitchen Cabinet Wrapping? A Step-by-Step Timeline
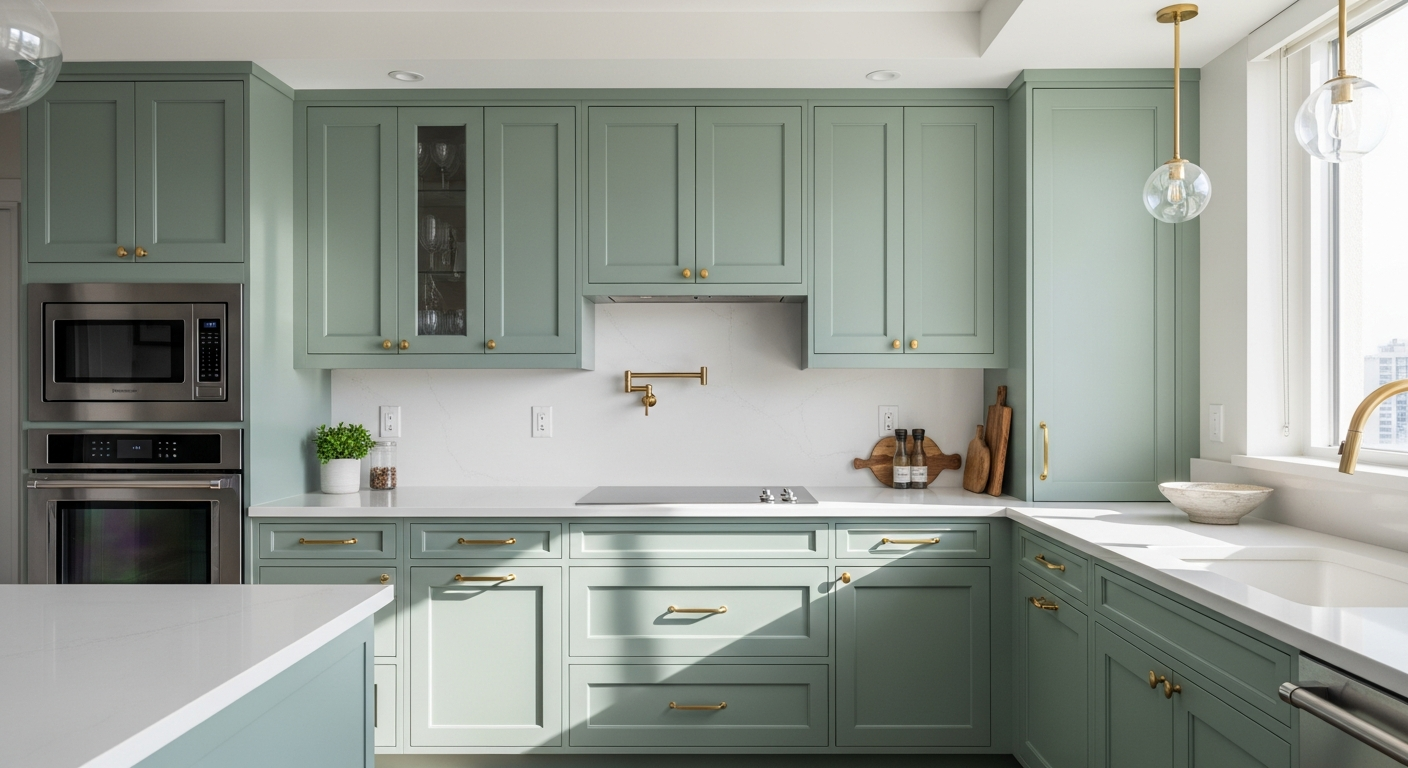
TL;DR: Not sure what to expect from a cabinet wrapping project? Here's exactly what happens from first contact to finished kitchen.
If you've never had cabinets wrapped before, the process might seem mysterious. What actually happens? How do they get the film on there so smoothly? And what do you need to do to prepare? Here's the full walkthrough.
Step 1: Consultation and Estimate
It starts with photos. You send photos of your kitchen — the cabinet fronts, any damage or wear areas, and a rough count of doors and drawers. An experienced company can give you a ballpark estimate from photos alone. For a final quote, they may want to see the kitchen in person or via video call to assess surface condition, measure precisely, and discuss finish options.
Step 2: Finish Selection and Samples
You choose your film finish from the available options. This is where you decide between matte white, walnut grain, charcoal, or any of the hundreds of available finishes. We send samples — actual pieces of the film — so you can see and feel them in your kitchen before committing. Never choose based on a screen image alone.
Step 3: Prep Work
On installation day, the first step is surface preparation. Every cabinet surface getting wrapped is cleaned thoroughly to remove grease, oils, and residue. Any minor imperfections are addressed — small dents can be filled, rough spots can be smoothed. The surface needs to be clean and uniform for the film to bond properly.
Step 4: Film Application
This is the main event. The installer measures and cuts each piece of film to fit the specific door or panel. The film is applied starting from one edge and worked across the surface, pushing out air as it goes. A squeegee-like tool ensures the film bonds uniformly without bubbles.
For edges, the film wraps around the door face and onto the back. A heat gun is used to soften the film so it conforms tightly around edges and corners. When done properly, the wrapped edge is invisible from the front of the door.
Step 5: Quality Check
After all surfaces are wrapped, the installer does a quality check — looking for any air pockets, edge lifting, or alignment issues. Any imperfections are corrected on the spot. Doors are reattached (if they were removed), drawers are refitted, and everything is tested to make sure it opens and closes properly.
Step 6: Done — Use Your Kitchen Tonight
Unlike paint, there's no drying time. The film is bonded as soon as it's applied. You can put things back in your cabinets and cook dinner that evening. The full adhesion strengthens over the next 24-48 hours, but normal use is fine immediately.
Frequently Asked Questions
Do I need to empty my cabinets before the installer arrives?
It depends on the approach. If doors are wrapped in place, you may not need to empty anything. If doors are removed for wrapping, removing fragile items from inside is helpful. Your installer will let you know what's needed.
How noisy is the process?
Very quiet compared to any other kitchen renovation. The main tools are a heat gun, a cutting tool, and a squeegee. There's no drilling, no hammering, no power tools. Apartment neighbors won't even know it's happening.
Get a Free Quote for Your Kitchen
Tell us what you want wrapped and we'll send you an estimate — no site visit needed.
Ready to Refresh Your Kitchen?
Get a free consultation and see how cabinet refinishing can transform your space — at a fraction of the cost of new cabinets. We offer remote consultations and ship free samples.